Asphalt shingles are a widely popular roofing material known for their durability, affordability, and versatility. They can be seen adorning the roofs of numerous residential and commercial structures around the globe. But have you ever wondered how these shingles are manufactured? Let’s delve into an in-depth understanding of the manufacturing process of asphalt shingles.
The manufacturing process incorporates three main components:
- Finding a Reliable Roofer in Northern Virginia
- Roofing Companies in Northern Virginia: Experts in Asphalt and Mineral Fillers
- Roofing Contractors in Northern Virginia
Fiberglass Mat Base
The process begins with a roll of fiberglass mat. Unlike organic shingles, which use a base of felt paper, fiberglass shingles utilize a base of woven fiberglass to provide strength and tear resistance.
Asphalt and Mineral Fillers
Next up is the application of asphalt. The fiberglass mat is fed through a coater where it gets immersed in hot asphalt, which serves as a waterproofing agent and gives the shingle its rigidity. The hot asphalt also contains mineral fillers that help to make it more resistant to weather elements.
Surface Granules
Finally, ceramic-coated granules are embedded into the top surface of the asphalt to protect it from UV exposure and give it color.
Once the asphalt has had time to cool down after receiving its granule coating, it’s cut with industrial-grade cutting tools into individual shingles.
The entire manufacturing process is controlled with strict quality control measures to ensure that each batch of asphalt shingles meets or exceeds industry standards for durability, wind resistance and weathering characteristics.
Now let’s break down this process further:
- Step 1:Fiberglass Mat Production: Large spools of fiberglass mat are unrolled and fed into coaters.
- Step 2:Coating: The mats pass through coaters where they’re immersed in hot asphalt.
- Step 3:Embedding Granules: The top surface of the asphalt is embedded with granules.
- Step 4:Cooling and Cutting: After cooling, the asphalt is cut into individual shingles.
Each step in the process serves a specific purpose that contributes to the overall durability, functionality, and aesthetic appeal of the finished shingle.
To ensure each batch of shingles meets industry standards, manufacturers conduct regular quality control checks throughout the manufacturing process. These checks might include visual inspections, physical property tests, and performance evaluations.
Understanding how asphalt shingles are manufactured can give you a greater appreciation for this versatile roofing material. It also underscores why it’s essential to hire professional roofers for installation because they understand how these materials are meant to work best.
Asphalt shingles are among the most popular roofing materials, known for their durability, cost-effectiveness, and aesthetic appeal. This popularity is largely due to a complex manufacturing process that ensures the production of high-quality and consistent products.
The manufacturing process of asphalt shingles involves several intricate steps, starting from raw material preparation to packaging:
- Raw Material Preparation
The manufacturing process begins with the preparation of raw materials. The most notable material is asphalt, which is heated and liquefied. Other materials include filler substances like limestone or fly ash and reinforcing fibers such as glass fiber or organic felt.
- Mat Formation
The next step in the process is creating a mat or base from the reinforcing fibers. In case of fiberglass shingles, the fiberglass material is woven into mats on which asphalt will be applied. For organic shingles, a felt paper saturated with asphalt forms the base.
- Asphalt Saturation
After mat formation comes saturation in hot liquid asphalt. This gives it waterproof capabilities while adding weight and rigidity.
- Coating With Granules
Once the mat has been fully saturated with asphalt, it’s coated with granules – tiny particles made from different types of minerals that further enhance its durability and fire resistance properties. They also provide color and aesthetic attributes to the shingles.
- Cutting And Packaging
After cooling down, this asphalt-granule sheet is then cut into individual shingles with distinct tab designs before being packaged ready for distribution.
In terms of machinery involved in this process; key equipment includes boilers for heating asphalt, saturation tanks for dipping mats into hot liquid asphalt, coaters for applying granules onto mats, presses for embedding granules into mats, ovens to cure or harden completed sheets and finally cutting machines to trim sheets into individual shingle strips.
It’s crucial to mention that quality control measures are enforced throughout this process. These measures ensure every batch of shingles meets the industry standards for weight, thickness, and overall quality.
To summarize:
- Initial Preparation: Gathering raw materials and preparing them
- Mat Formation: The production of the base material
- Asphalt Saturation: Immersing the base in hot liquid asphalt
- Coating with Granules: The application of tiny mineral particles
- Cutting and Packaging: Preparing the final product for distribution
Every step in this process is critical to providing homes with reliable, durable, and aesthetically pleasing roofing solutions. This complex manufacturing process ensures that asphalt shingles continue to remain a top choice for homeowners worldwide.
The creation of the shingle membrane is a critical step in the manufacturing process of asphalt shingles. This involves several stages, each with its own unique methods and materials.
1.Fiberglass Mat Production
The process starts with the production of a fiberglass mat. This mat serves as a base for the shingle membrane. It provides strength, flexibility and acts as a waterproof barrier. The fiberglass is woven into a mat, then coated with a binder and heat cured to give it stability and rigidity.
2.Asphalt Coating
Once the fiberglass mat is ready, it’s sent to an asphalt coating machine where hot asphalt is applied on both sides of the mat. This process ensures that the mat is fully saturated and impregnated with asphalt, which makes it water resistant.
3.Mineral Surfacing
After being coated with asphalt, the top surface of the mat is covered with mineral granules. These granules are embedded into the hot asphalt to add weight, provide additional weather protection, improve fire resistance and give color to shingles.
4.Cooling and Cutting
Following mineral surfacing, cooling drums are used to harden and cool down the product before it’s cut into individual shingles by a specialized cutting machine.
Here’s a brief overview:
| Step | Process | Purpose |
| 1 | Fiberglass Mat Production | Form base for shingle membrane providing strength & flexibility |
| 2 | Asphalt Coating | Make mat fully saturated & water resistant |
| 3 | Mineral Surfacing | Add weight, provide weather protection & impart color |
| 4 | Cooling & Cutting | Harden product & cut into individual shingles |
Shingle manufacturing plants also make sure that there is no compromise on quality through routine testing. Samples are taken from each batch and checked for weight, tear strength, flexibility and granule adhesion.
The process of creating the shingle membrane is complex yet fascinating. It involves a blend of modern manufacturing techniques and high-quality materials, which together ensure that the end product is durable and reliable. Proper understanding of these processes can help homeowners make informed choices about their roofing materials. It also allows roofing professionals to provide better service by understanding the products they are working with more deeply.
One of the fundamental aspects that contribute to these factors is the process of asphalt layering in roofing shingles. This methodical process is vital in ensuring that each shingle has the strength, flexibility and water resistance necessary for long-lasting protection.
The process typically begins with a base material, which can either be organic felt or fiberglass mat. This base provides the foundation upon which the asphalt layer is applied. Organic felt bases are saturated with asphalt to make them waterproof while fiberglass mats have asphalt applied to both sides.
The primary function of this asphalt coating is to provide a waterproof barrier, protecting buildings from precipitation and other forms of moisture. The thickness and consistency of the asphalt layer play a significant role in determining the shingle’s durability and longevity.
Once an even layer of melted asphalt is applied onto the base material, granules are then embedded into this still warm and sticky coating.
- Protection: The granules shield the underlying layers from harmful UV rays that can deteriorate the integrity of the asphalt over time.
- Aesthetic Appeal: Granules can come in various colors allowing homeowners to match their roof with their home’s exterior design.
- Fire Resistance: Certain granules are designed to be fire-resistant which enhances safety.
A final layer of sealant or adhesive strip gets applied on top as a finishing touch to ensure that each shingle sticks properly when installed on roofs. This ensures cohesion between individual shingles creating a strong, unified barrier against weather elements.
During manufacturing, it’s also essential that quality control measures are strictly adhered to. The thickness of both base materials and asphalt layers must meet certain standards for optimal performance. Moreover, too much or too little of the granules, adhesive, or asphalt can compromise a shingle’s effectiveness.
With this understanding of the process behind asphalt layering in roofing shingles, we can appreciate their design and durability. This engineering feat allows for structures to be protected against harsh weather conditions while remaining affordable and visually appealing. The combination of base material, multiple layers of asphalt, granules, and adhesive contribute to a roofing solution that is resilient and reliable.
It is through this intricate process that the benefits of asphalt shingles such as their strength, longevity and resilience are achieved. Hence, when considering installing new roofing or replacing an old one, it’s worth considering asphalt shingles due to these impressive attributes that are a result of meticulous design and manufacturing processes.
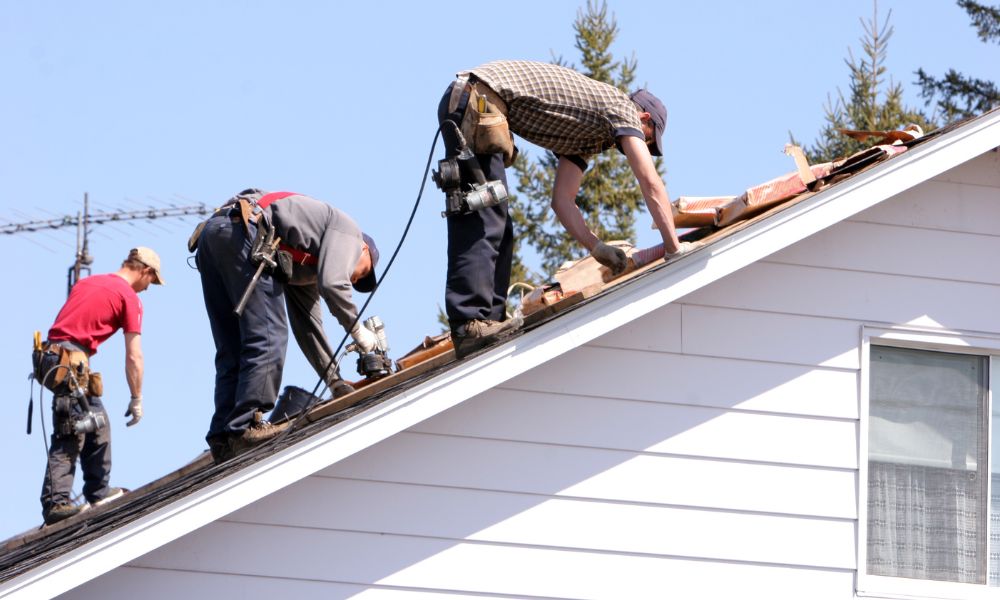
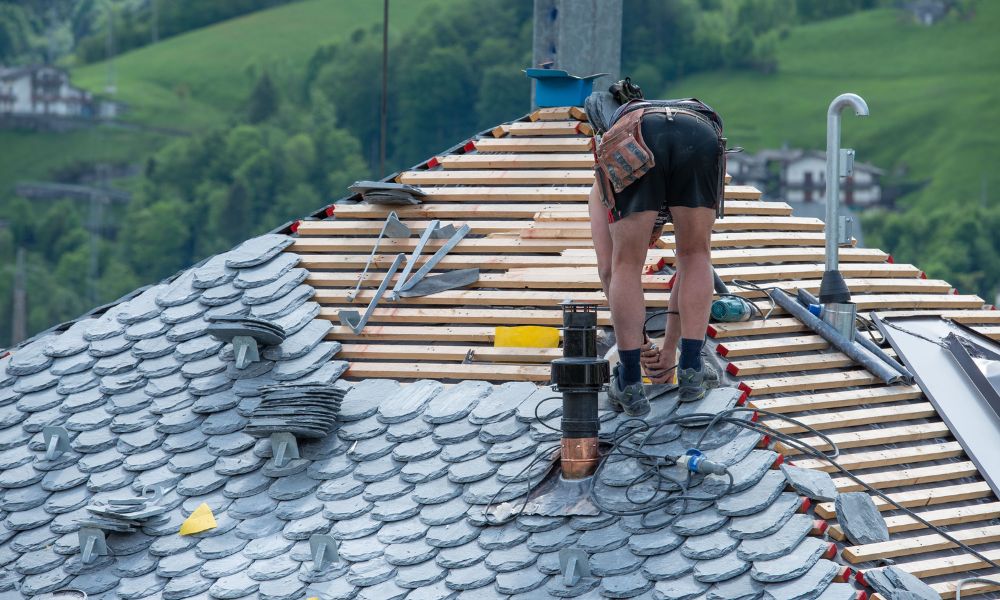
Roof shingle installation is a labor-intensive process that requires careful planning and execution. Whether you’re a DIY enthusiast or a professional roofer, understanding the correct procedure for roof shingle installation is crucial for the longevity and durability of the roof. Here is a step-by-step guide to ensure successful installation of your roof shingles.
Finding a Roofing Contractor in Northern Virginia: An Essential Step to Consider
Before commencing the installation, ensure you have all necessary tools and materials at hand.
- Roofing shingles
- Hammer or nail gun
- Roofing nails
- Ladder
- Safety harness
- Chalk lines
- Utility knife
- Tape measure
Step 2: Preparing for Roof Repair in Northern Virginia
The roof deck must be clean, dry, and in good condition. Remove all old roofing materials, including old nails or screws. Inspect the deck for any damage; if detected, repair it before installing new shingles.
Step 3: Installing Roofing in Northern Virginia
Drip edge installation is an essential part of preventing water damage. It should be installed along both the eaves and rakes of your roof.
Step 4: Lay Down Underlayment
An underlayment acts as a protective barrier between the shingles and roof deck. Typically, roofing felt or synthetic underlayment is used. Begin at the bottom corner of your roof and roll out horizontally across.
Step 5: Start Installing Shingles
Starting from one bottom corner of your roof, align your first row of shingles with the edge of your roof so that there’s an overhang of about 1/2 to 3/4 inch. Affix each shingle with four nails approximately one inch from each end and two nails inside each cutout.
Step 6: Install Remaining Shingle Rows
Each subsequent row of shingles should be staggered from the previous one. This means the cutouts of one row should be above the solid part of the row below it. Use chalk lines to keep your rows straight.
Step 7: Add Flashing and Ridge Cap Shingles
Flashing, thin pieces of metal, should be installed at places where different parts of your roof meet or where roofing meets a wall. Lastly, ridge cap shingles or ridge vents are installed along ridges or peaks for ventilation.
Step 8: Clean Up and Inspect
After all shingles have been installed, it’s time for a good cleanup of any leftover materials and debris. Inspect your work carefully to ensure all shingles are securely fastened and flashing is properly installed.
Remember, safety is paramount when working on roofs, always use appropriate safety equipment and take necessary precautions. A proper installation will not only enhance the curb appeal of your home but also significantly increase the life span of your roof.
- Exploring Diverse Roofing Options with Roofers in Northern Virginia: An Extensive Guide
- Comprehensive Guide on Hiring Roofers in Northern Virginia
- Discovering the Best Roofers in Northern Virginia: A Comprehensive Guide
- Meet the Best Roofers in Northern Virginia
- Understanding the Role of Roofers in Northern Virginia